"There were nights that I couldn’t sleep because my mind was still iterating on what to add next. I was way too deep into it. It needed to be great, it needed to be mind-blowing. I knew it was silly, but I kept going because at this point I couldn’t stop."
 This world started to take shape with every picture I put out, and I found myself submerged in a universe that excited me, that sparked my imagination. It was unpredictable, and chaotic, and expressive. I could babble on about it endlessly, but in short: it was the perfect canvas I could project myself onto. I try to describe the world and tell its story as much as every picture allows me to, and to provide insight into the mentality of it through its scenery. So I guess sometimes people might miss the bigger picture, the puzzle holding all these pieces together.
 I worked on it for five months. It had huge amounts of detail, and was packed with all the effects I could fit in it. It received a lot of attention on the Facepunch forums. Garry saw it and tweeted about it, and you ended up printing several copies of it, hanging one in your studio, and sending me some of the prints as well. The amount of recognition I got for it was astounding. I wanted more of that recognition, so I attempted to go for something way bigger, and started working on Spawn Point Zero.
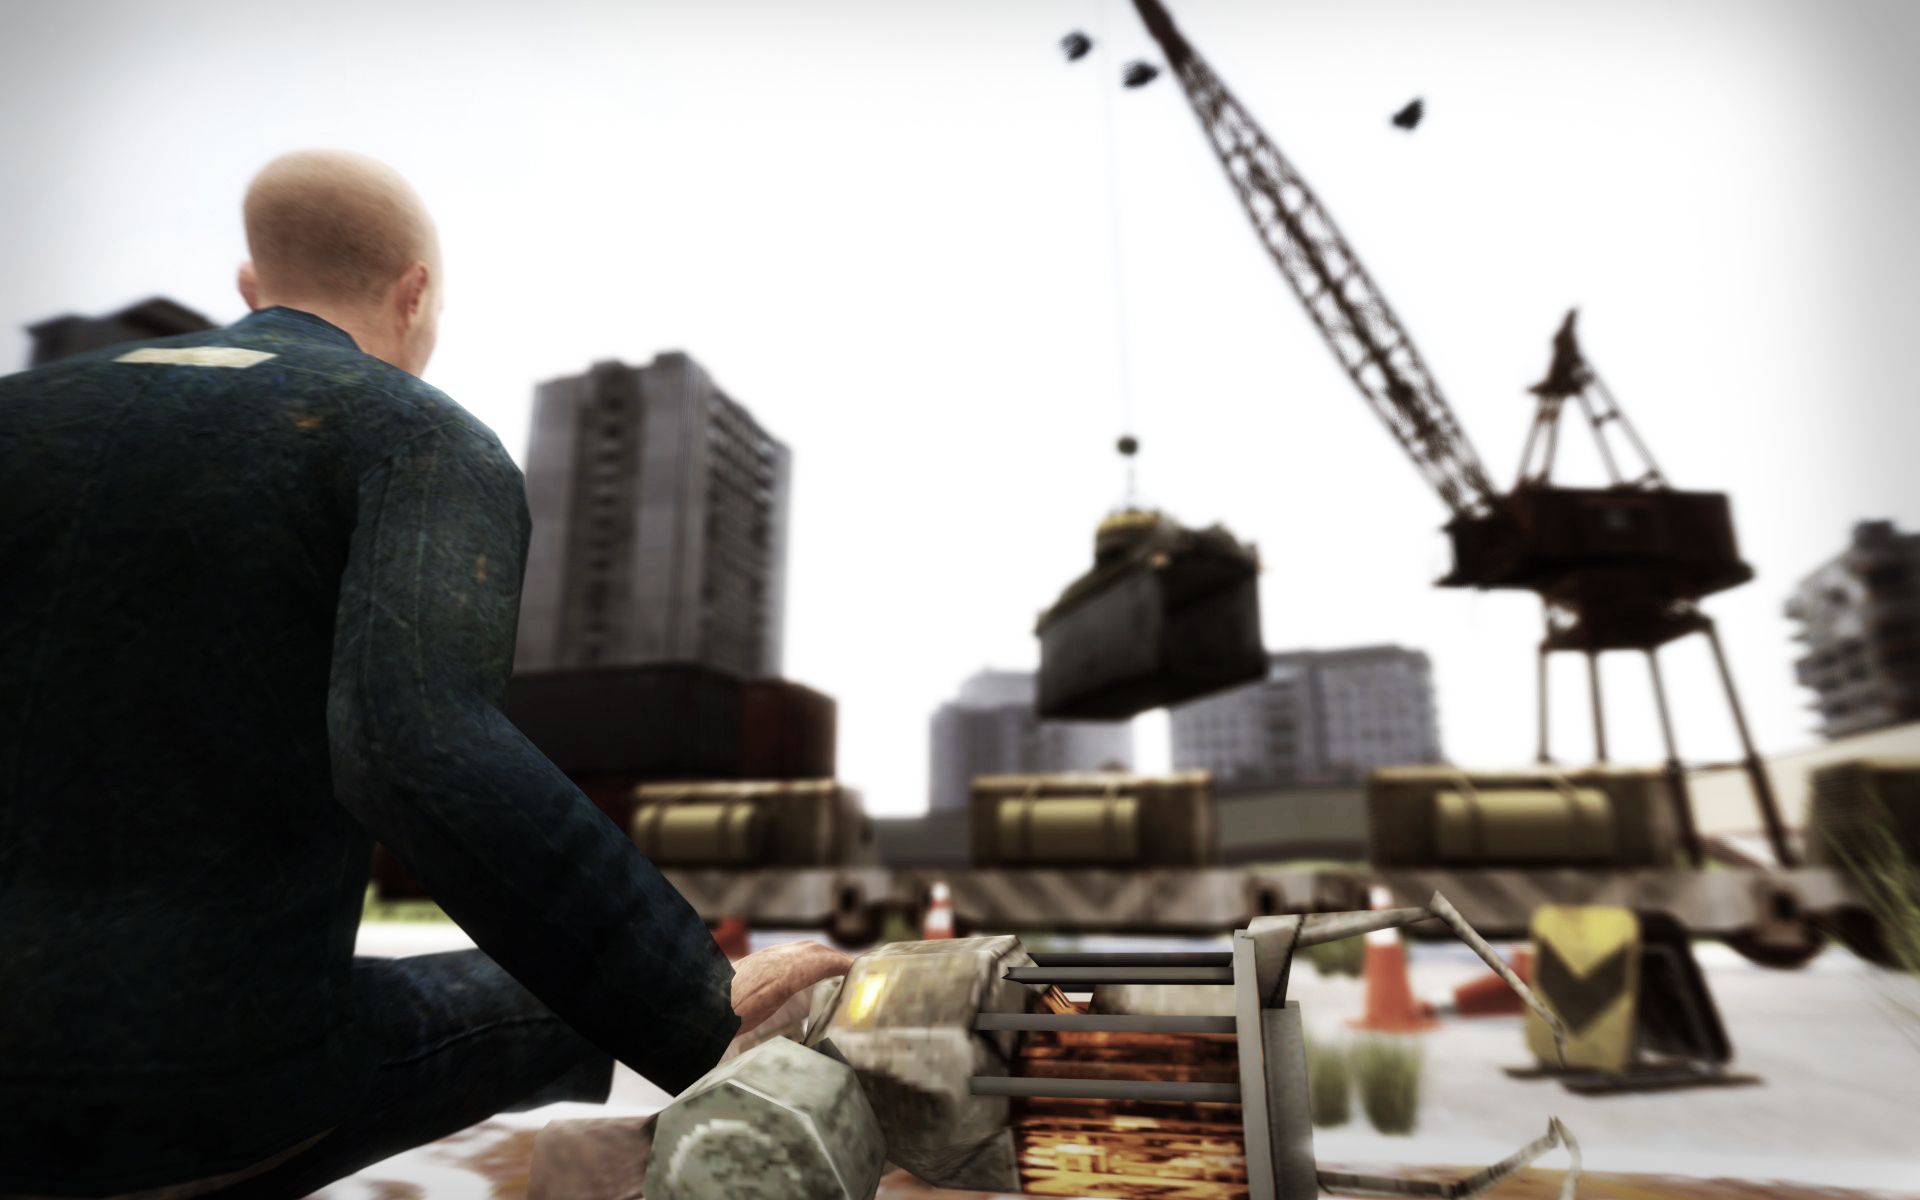
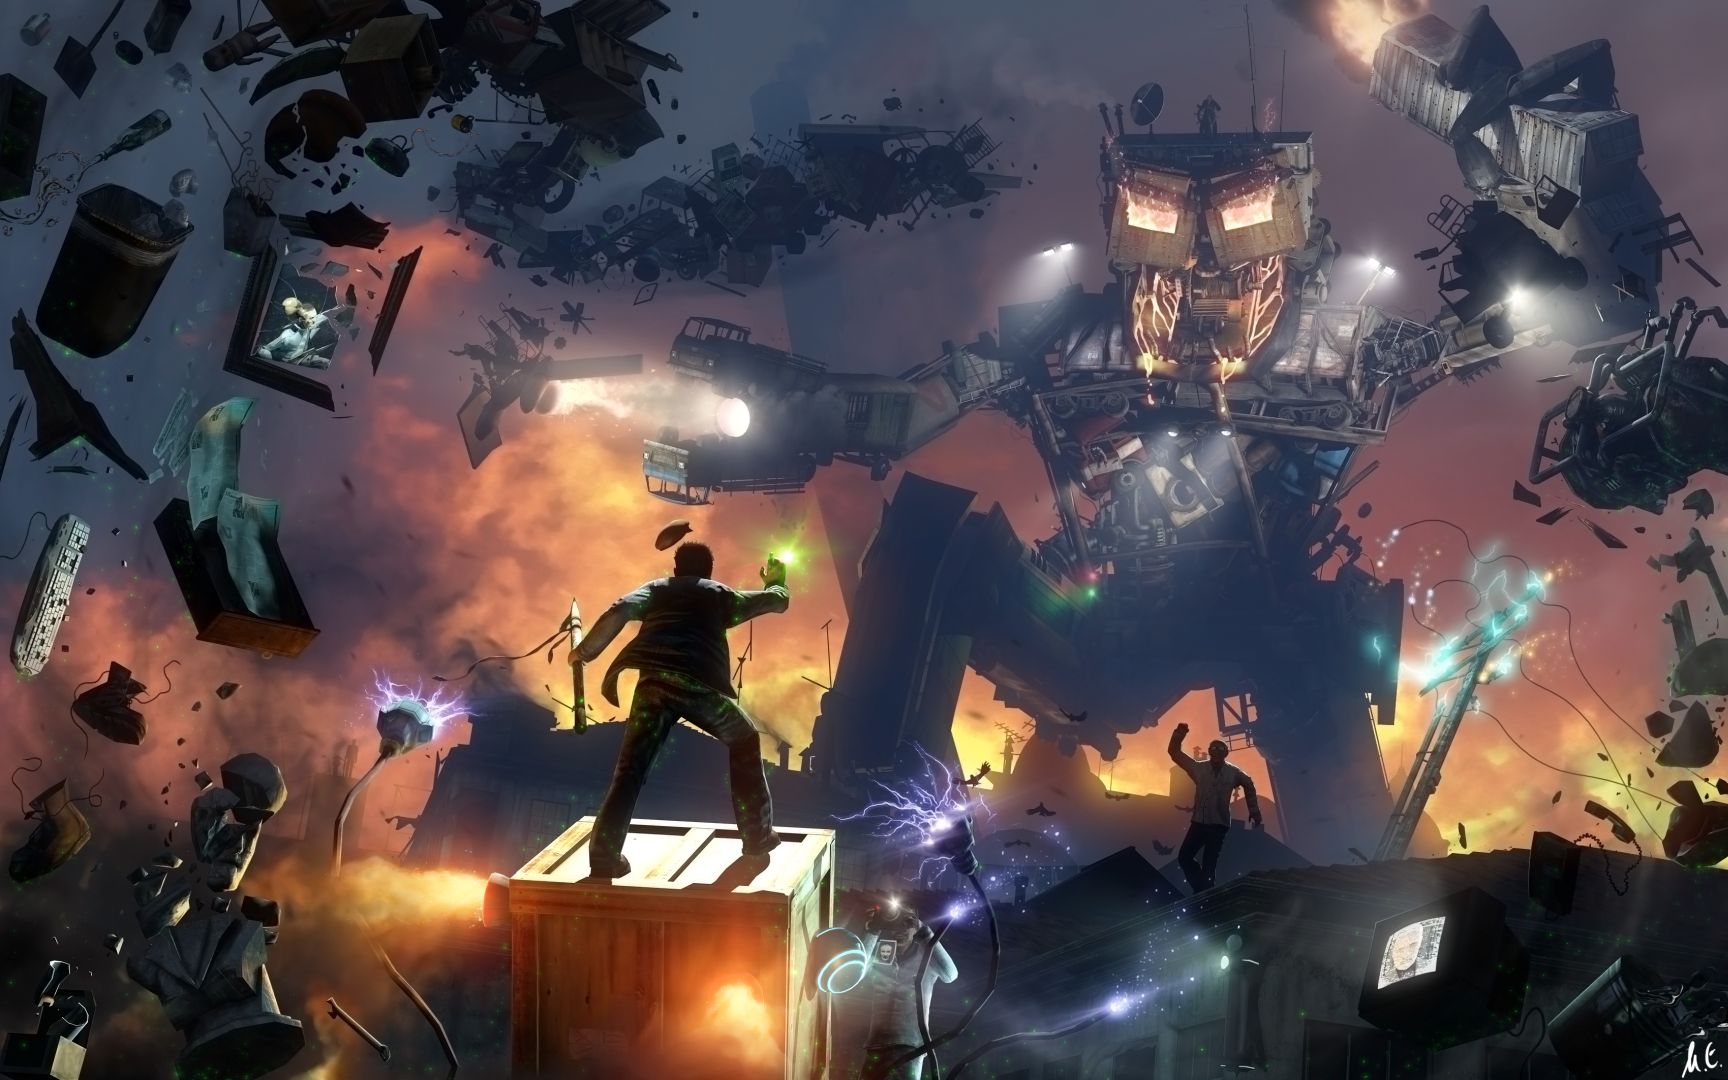
Spawn Point Zero was set in an abandoned Garry’s Mod sandbox server. It was supposed to portray what an average sandbox server would look like after years of not being reset. I opened up a document and started writing a list of ideas of what I wanted in the picture. I also drew a rough sketch of the “final” composition I wanted:
I worked on it for five months. It had huge amounts of detail, and was packed with all the effects I could fit in it. It received a lot of attention on the Facepunch forums. Garry saw it and tweeted about it, and you ended up printing several copies of it, hanging one in your studio, and sending me some of the prints as well. The amount of recognition I got for it was astounding. I wanted more of that recognition, so I attempted to go for something way bigger, and started working on Spawn Point Zero.
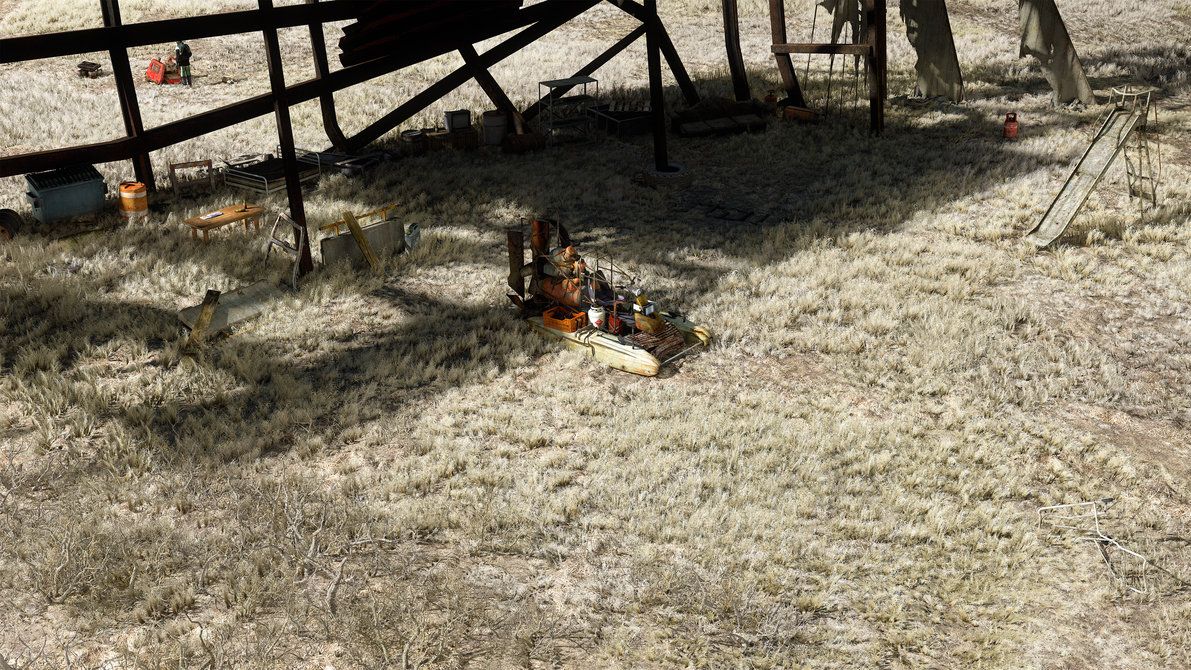
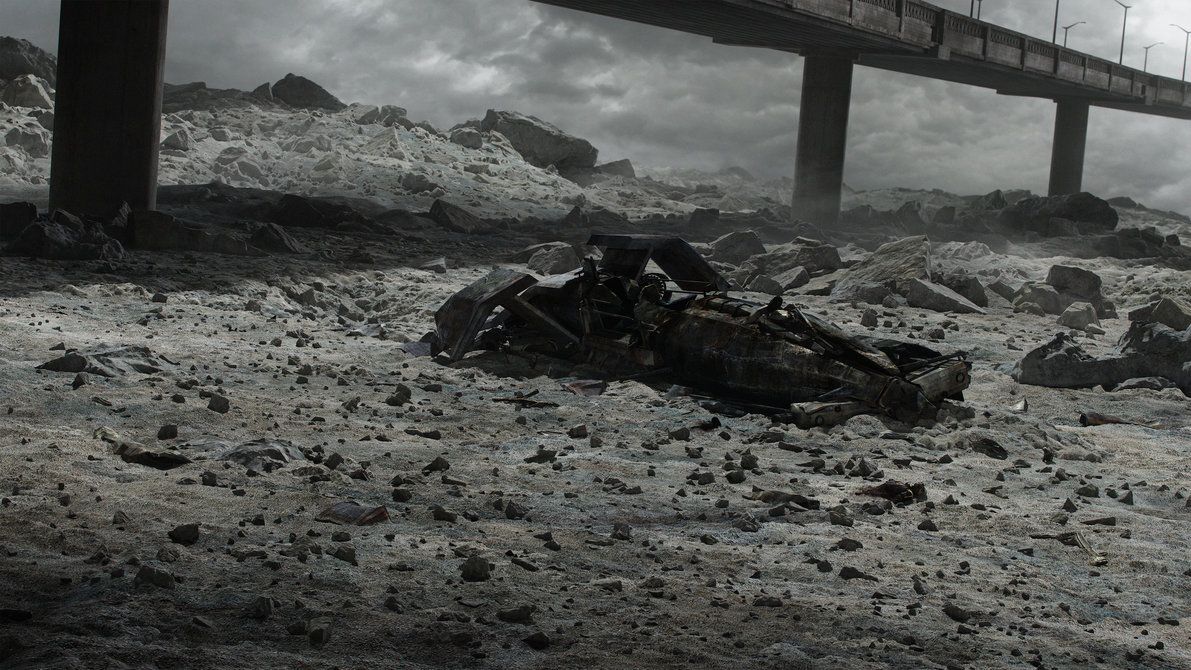
Spawn Point Zero was set in an abandoned Garry’s Mod sandbox server. It was supposed to portray what an average sandbox server would look like after years of not being reset. I opened up a document and started writing a list of ideas of what I wanted in the picture. I also drew a rough sketch of the “final” composition I wanted:
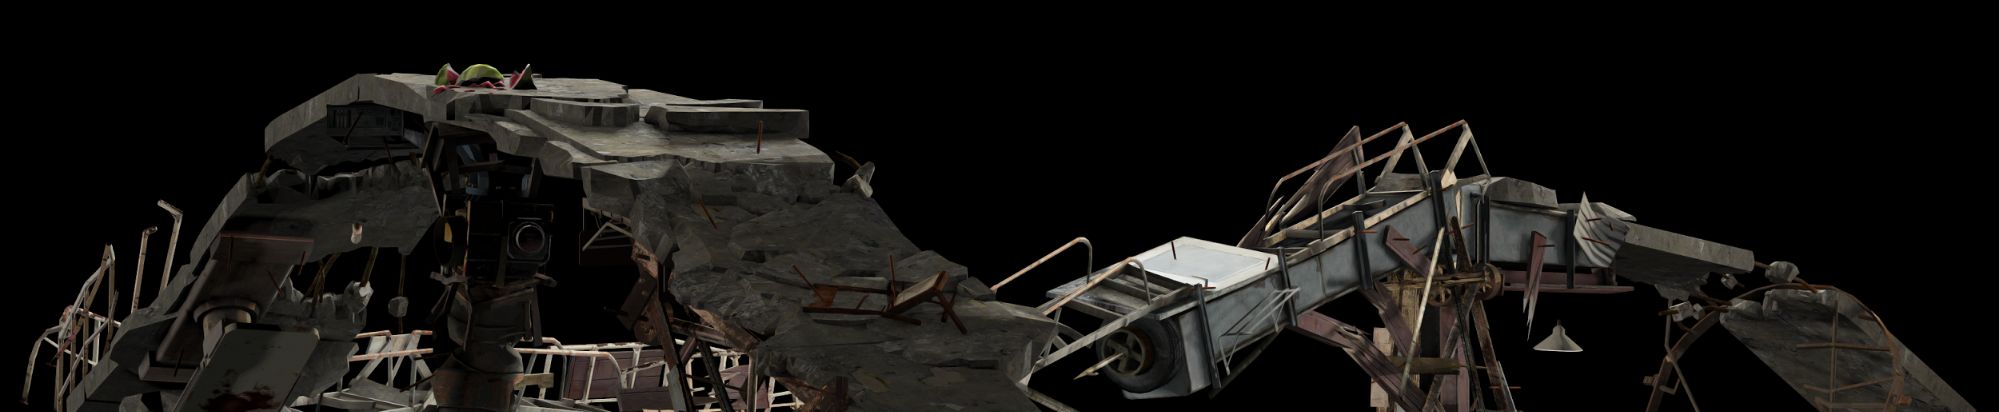
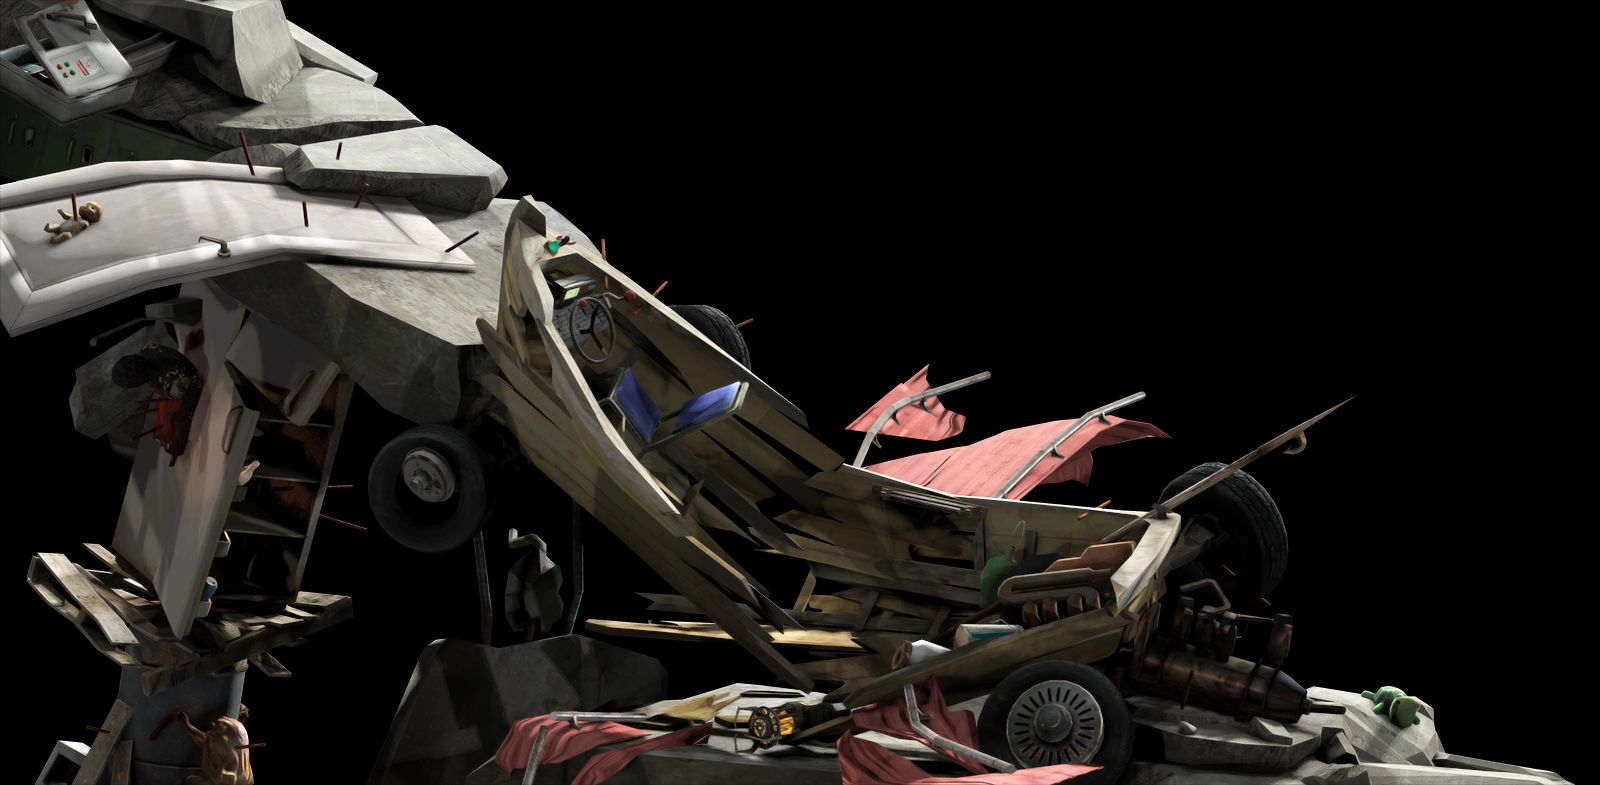
 A wrecked contraption in the foreground, and a couple of more in the background. I started building, crossing off ideas from my to-do list with every new contraption I added into the scene. When I was done with the first layers, I realized there was still a lot of empty space left, and suddenly my ‘amazing’ composition felt insufficient. So I added more layers.
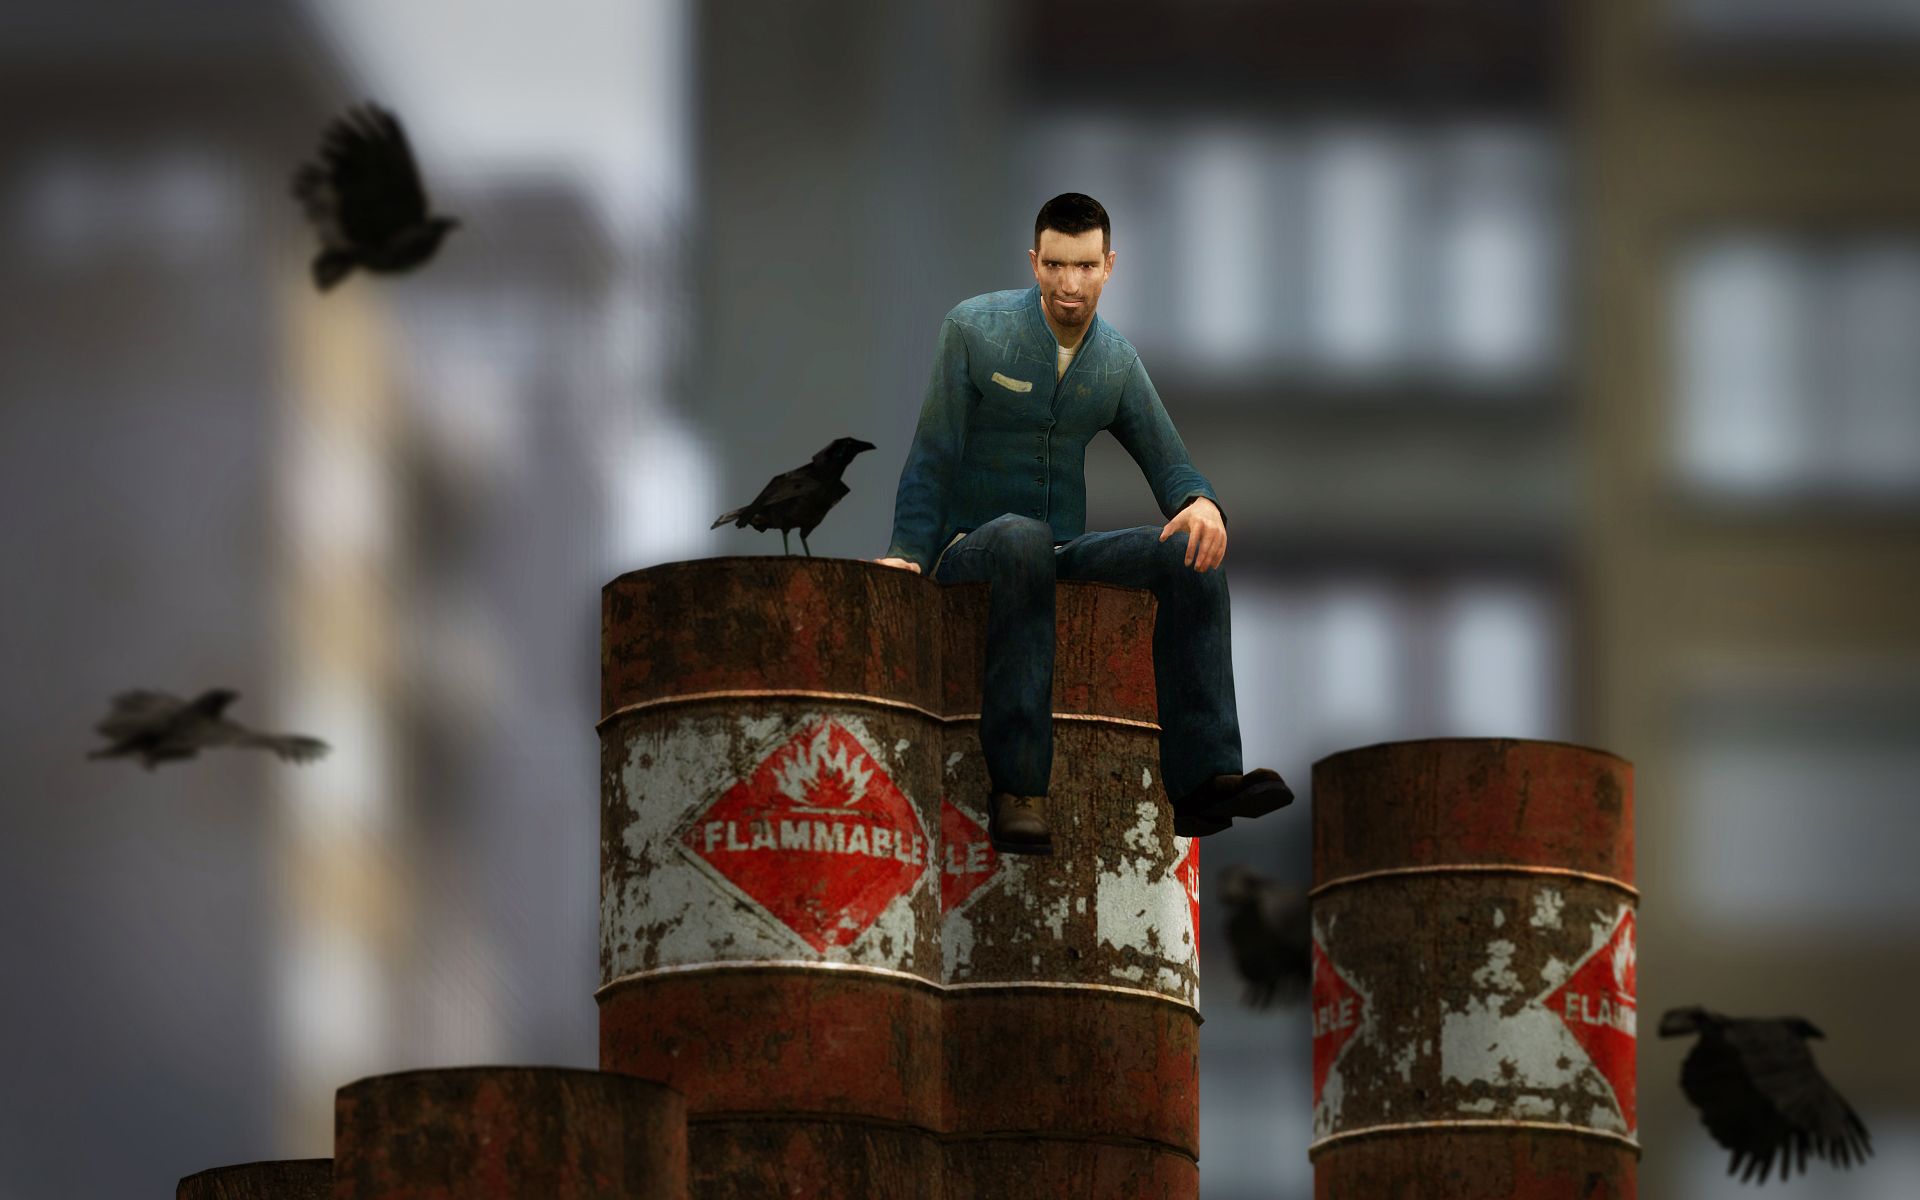
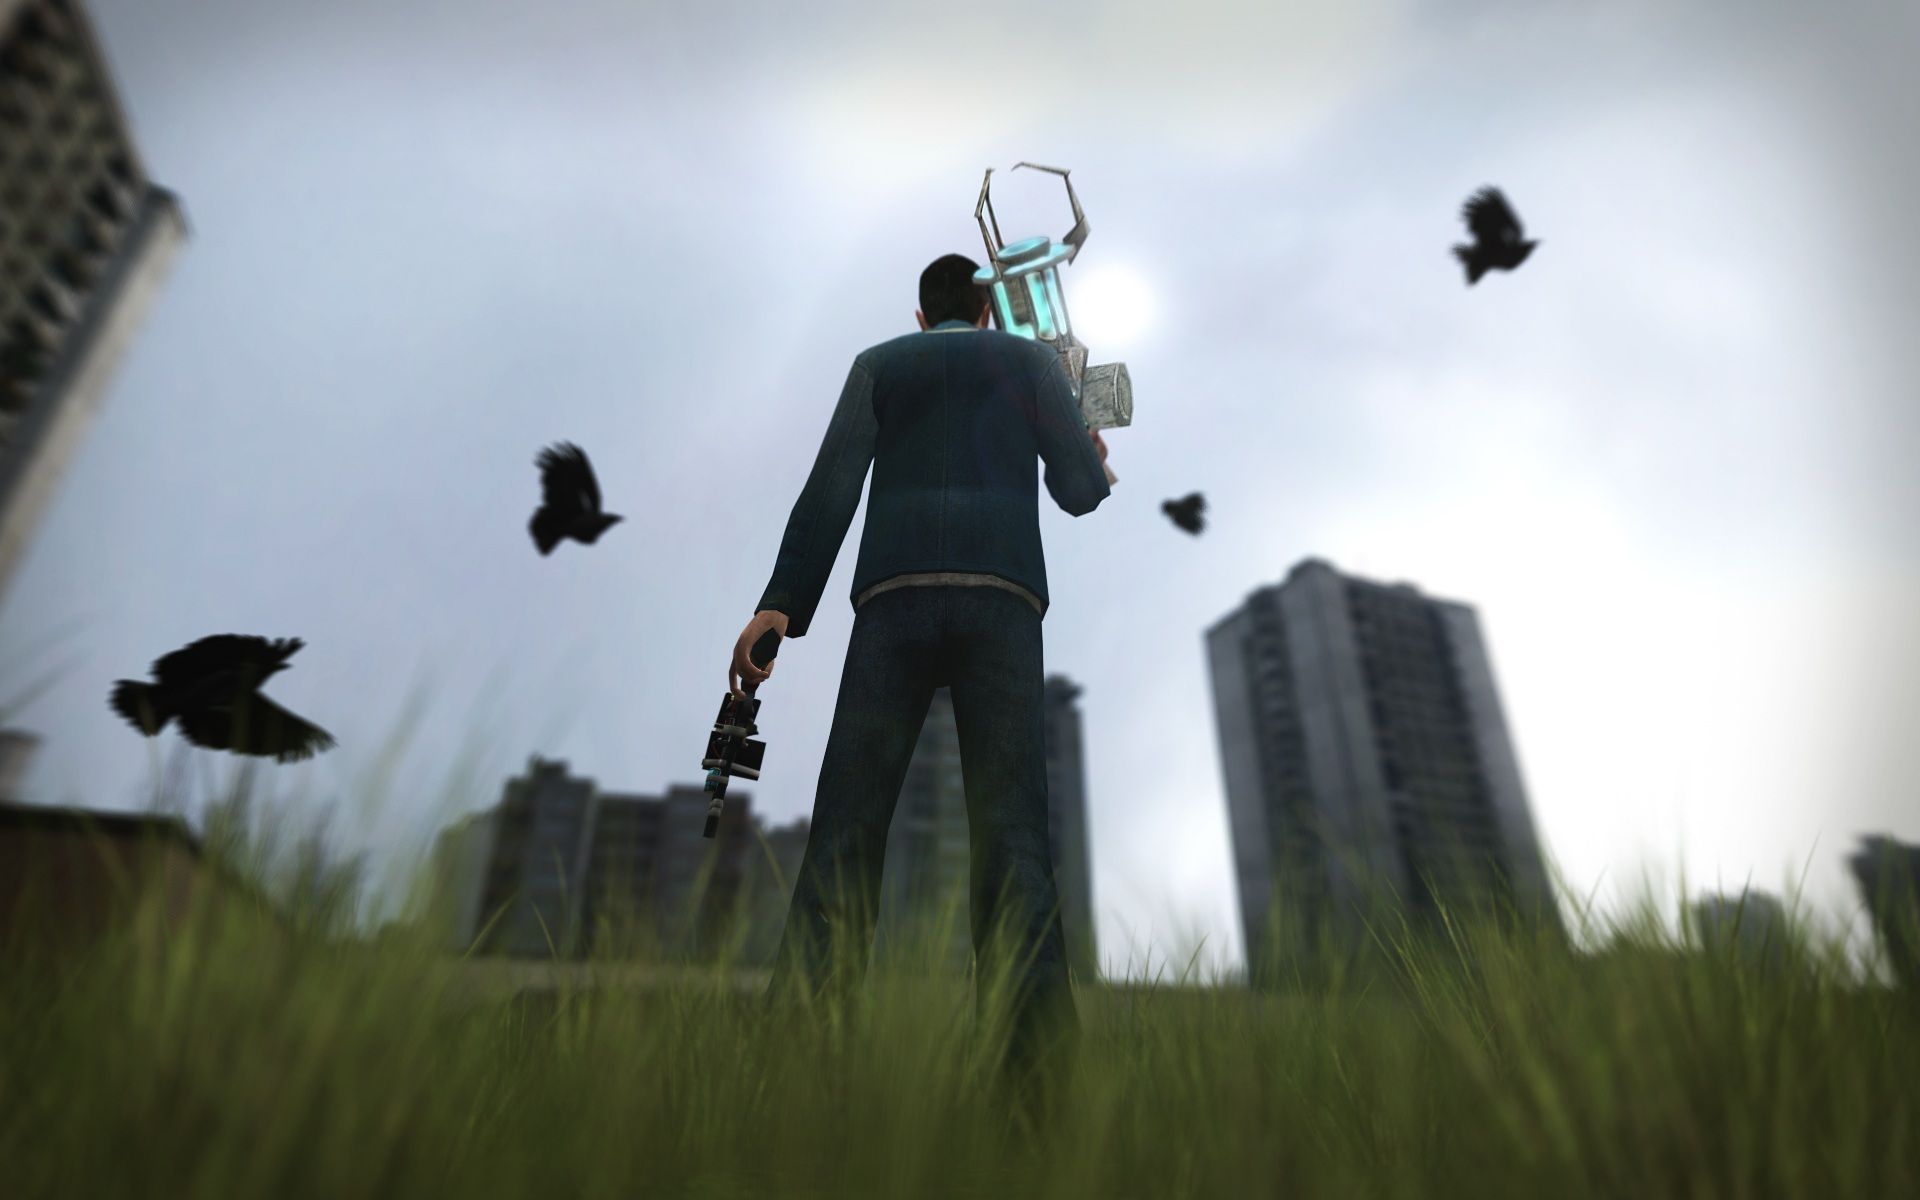
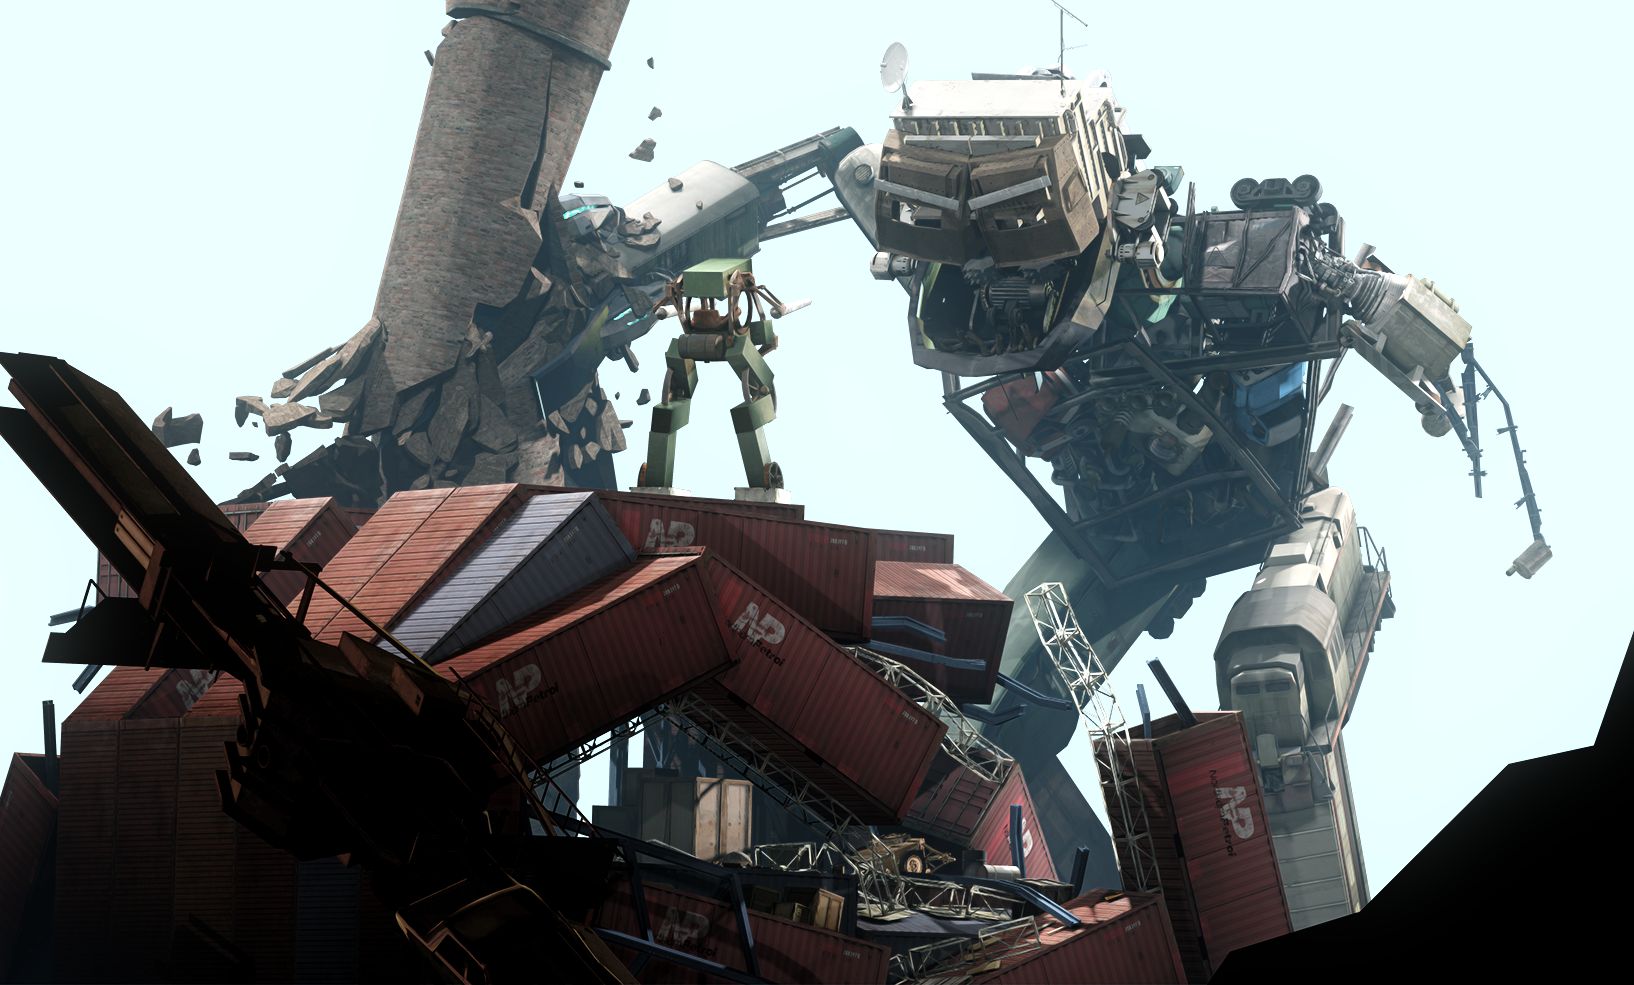
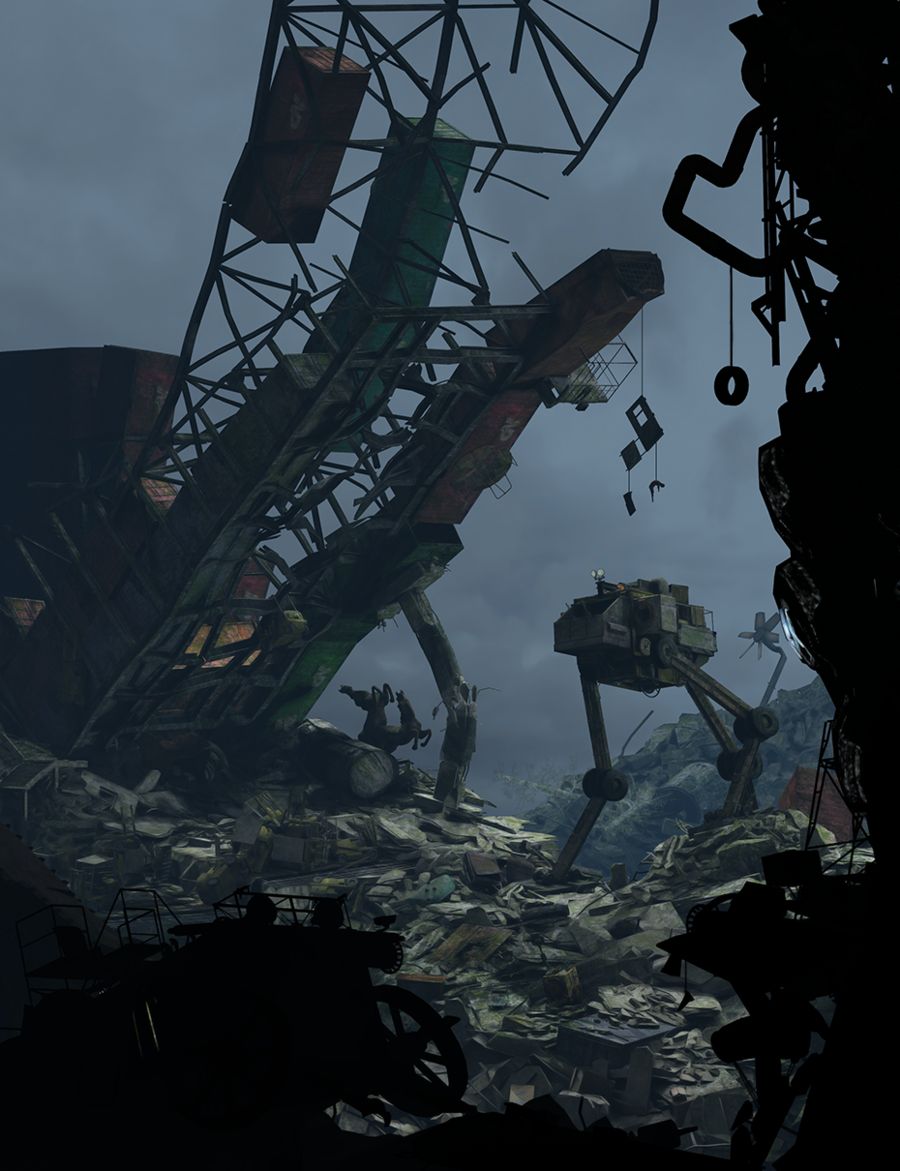
 It was going to be a beautiful, gigantic render packed with awesome effects, top tier lighting and a story that tied every layer together with its neighbors in a scene you could lose yourself in. Every ‘layer’ would be an entire scenebuild of its own that you could zoom into, with each layer was filled with Human Players interacting with each other in crazy ways, causing complete and utter chaos.
With every idea I marked off my to-do list, I ended up adding five new ones. What started out as a relatively simple composition with ~500 props blew out of proportion into a composition that easily exceeded ~3000 props. I found myself a victim of my own idea. There were nights when I couldn’t sleep because my mind was still iterating ideas on what to add next. I was way too deep into it. It needed to be great, it needed to be mind-blowing… how else was I going to get the recognition I wanted? I knew it was silly, but I kept going because at this point I couldn’t stop.
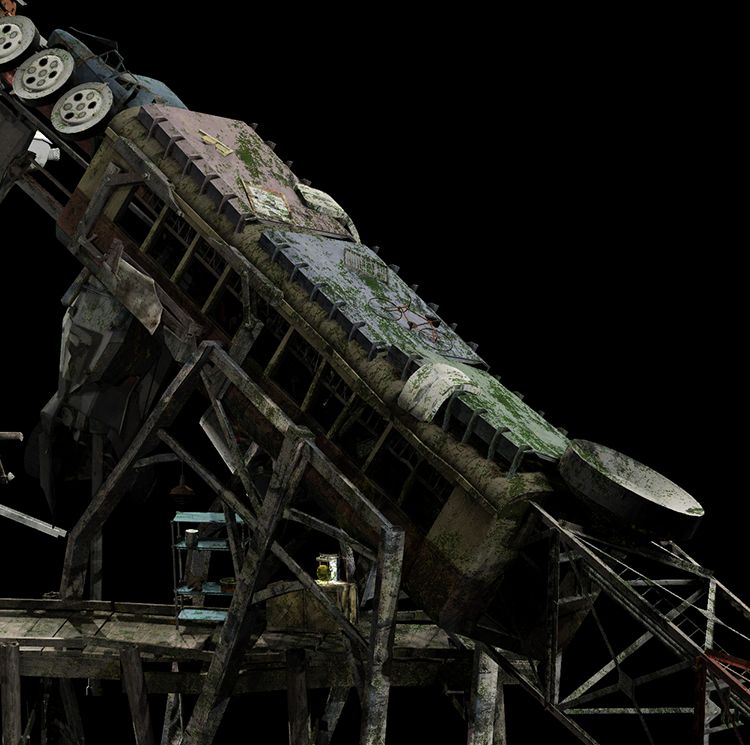
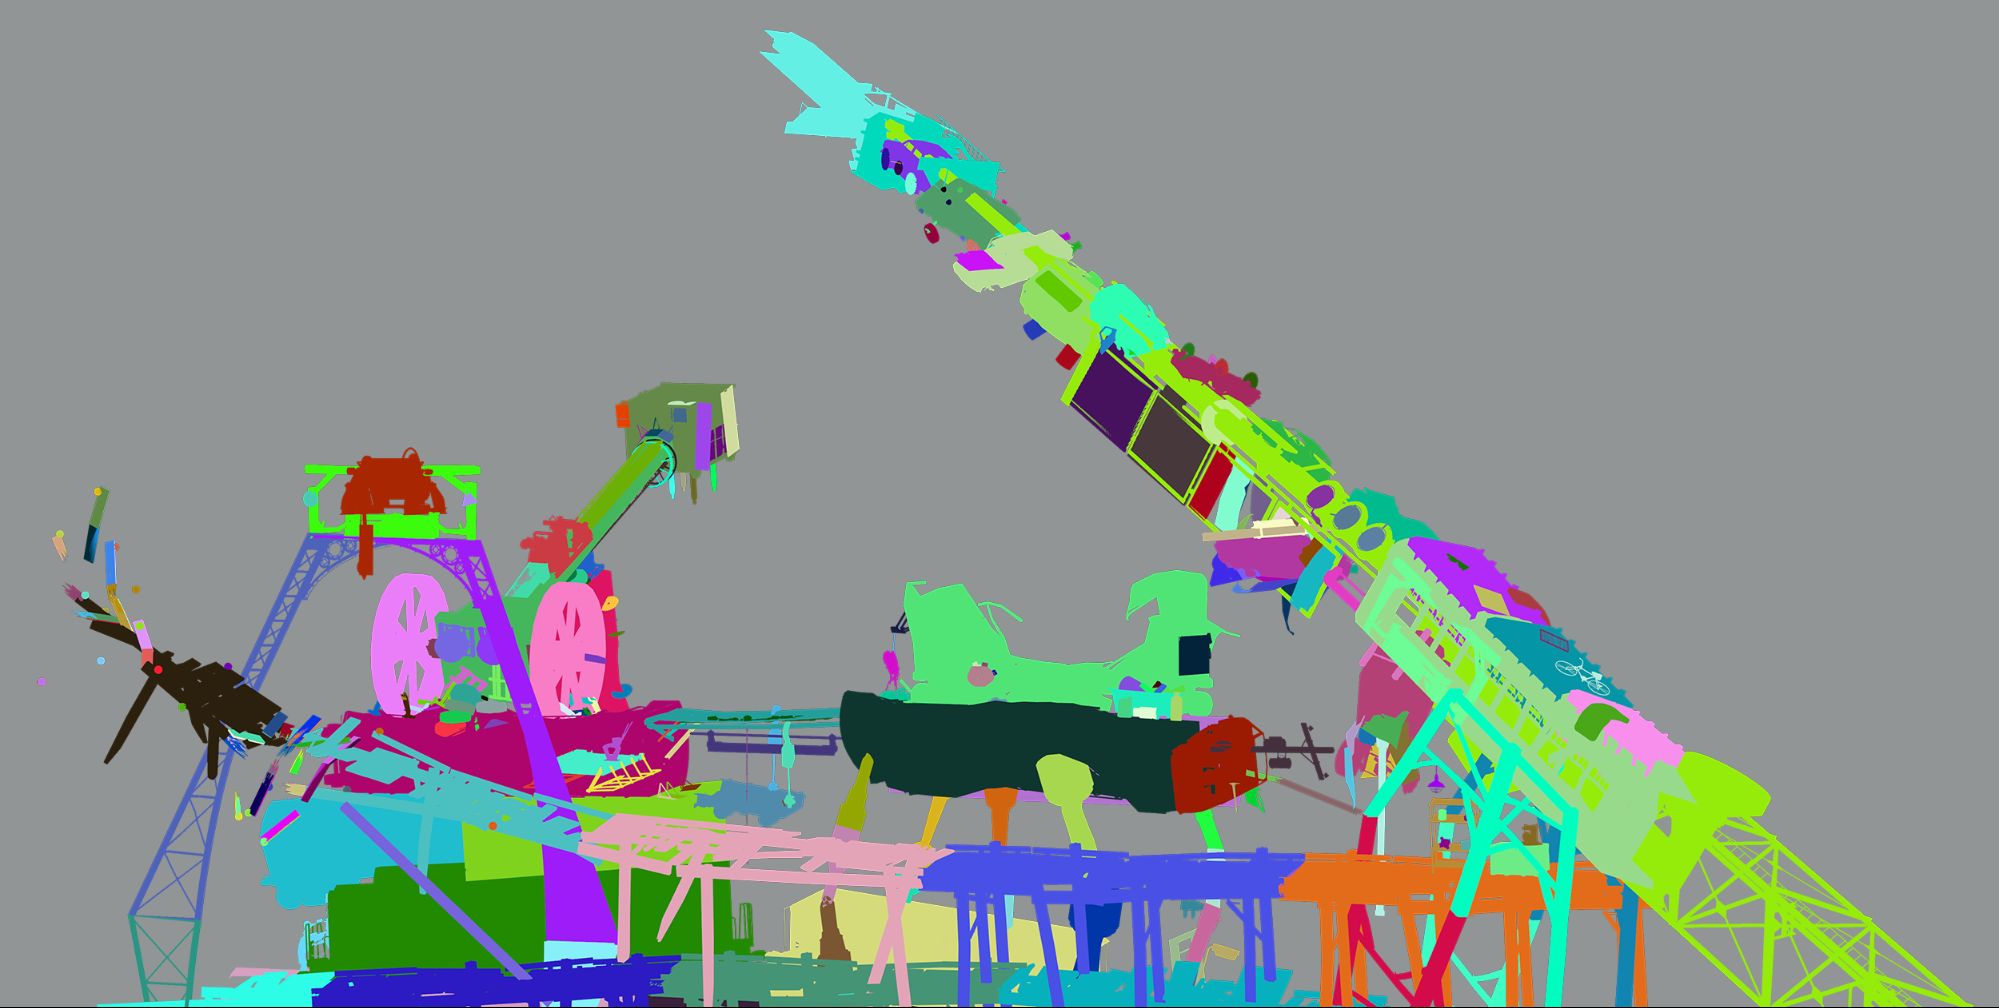
I hit engine limits. It got to the point where I couldn’t save the game anymore, because the entity count would cause it to crash, so I had to rethink my strategy. I realized the only way I was going to achieve what I wanted was to separate every layer into its own render, and then stitch it all together in Photoshop. I then realized that if I was already rendering each layer independently, I might as well give each layer fancier lighting. So that’s what I did.
I knew lighting was important, and I knew it needed to look great, but I had no idea how to actually achieve lighting that looked good. Before, lamps weren’t an option: Source had an eight lamp limit, and there was no way I could spread eight single lamps on an entire map. But now that every layer could be lit separately, using lamps sounded more feasible. I loaded up a relatively small ‘catwalk’ environment I built, and tried to toy around with lamps and lights. I tried different things.
It was going to be a beautiful, gigantic render packed with awesome effects, top tier lighting and a story that tied every layer together with its neighbors in a scene you could lose yourself in. Every ‘layer’ would be an entire scenebuild of its own that you could zoom into, with each layer was filled with Human Players interacting with each other in crazy ways, causing complete and utter chaos.
With every idea I marked off my to-do list, I ended up adding five new ones. What started out as a relatively simple composition with ~500 props blew out of proportion into a composition that easily exceeded ~3000 props. I found myself a victim of my own idea. There were nights when I couldn’t sleep because my mind was still iterating ideas on what to add next. I was way too deep into it. It needed to be great, it needed to be mind-blowing… how else was I going to get the recognition I wanted? I knew it was silly, but I kept going because at this point I couldn’t stop.
I hit engine limits. It got to the point where I couldn’t save the game anymore, because the entity count would cause it to crash, so I had to rethink my strategy. I realized the only way I was going to achieve what I wanted was to separate every layer into its own render, and then stitch it all together in Photoshop. I then realized that if I was already rendering each layer independently, I might as well give each layer fancier lighting. So that’s what I did.
I knew lighting was important, and I knew it needed to look great, but I had no idea how to actually achieve lighting that looked good. Before, lamps weren’t an option: Source had an eight lamp limit, and there was no way I could spread eight single lamps on an entire map. But now that every layer could be lit separately, using lamps sounded more feasible. I loaded up a relatively small ‘catwalk’ environment I built, and tried to toy around with lamps and lights. I tried different things.
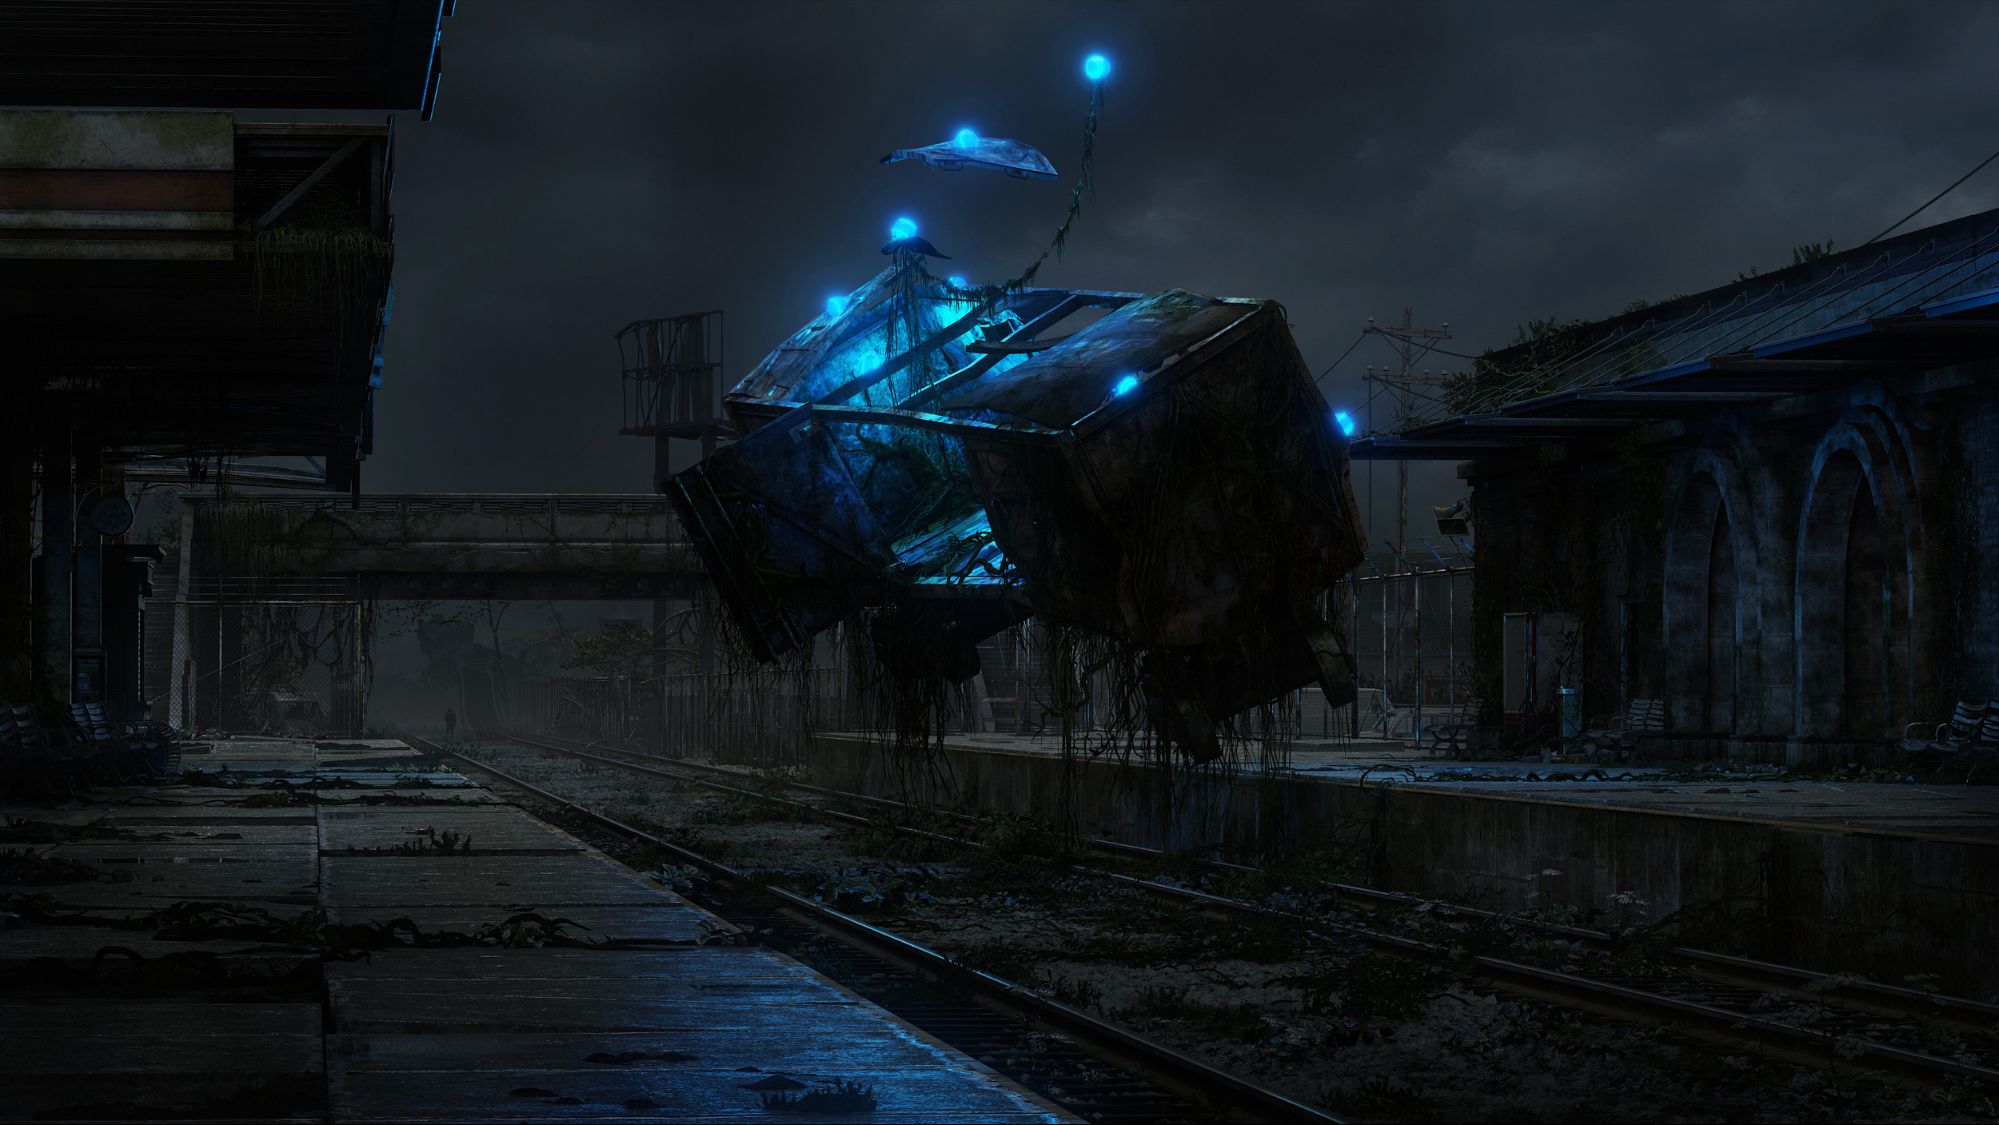
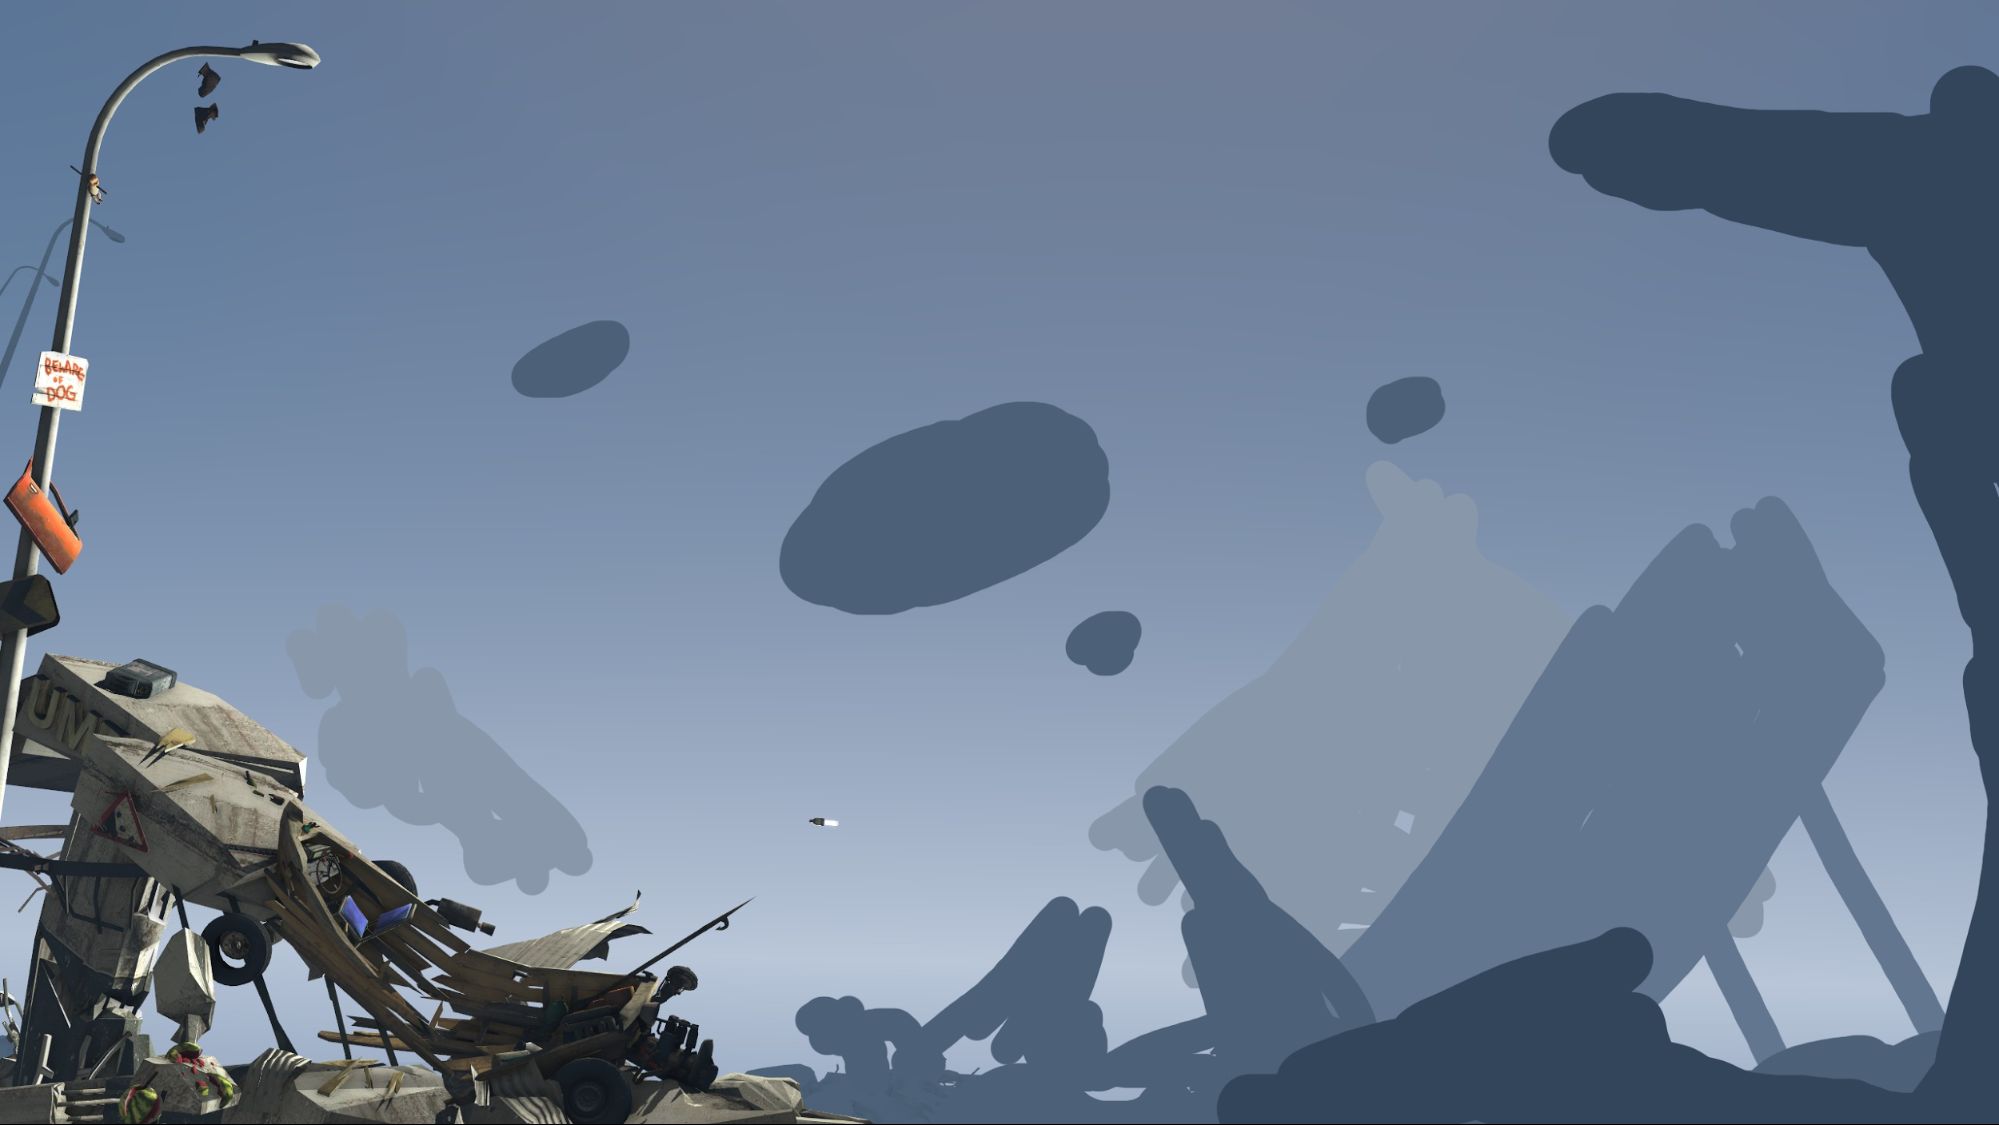
 No matter what I did, it didn’t look convincing. Something was absent. I couldn’t settle, because there was no way I was going to compromise on something so important as lighting after so much work. So I kept trying different things. I then asked myself what would happen if I simply rendered the entire scene in darkness with the exception of a single shadow casting lamp, each time from a different angle, so I tried it out:
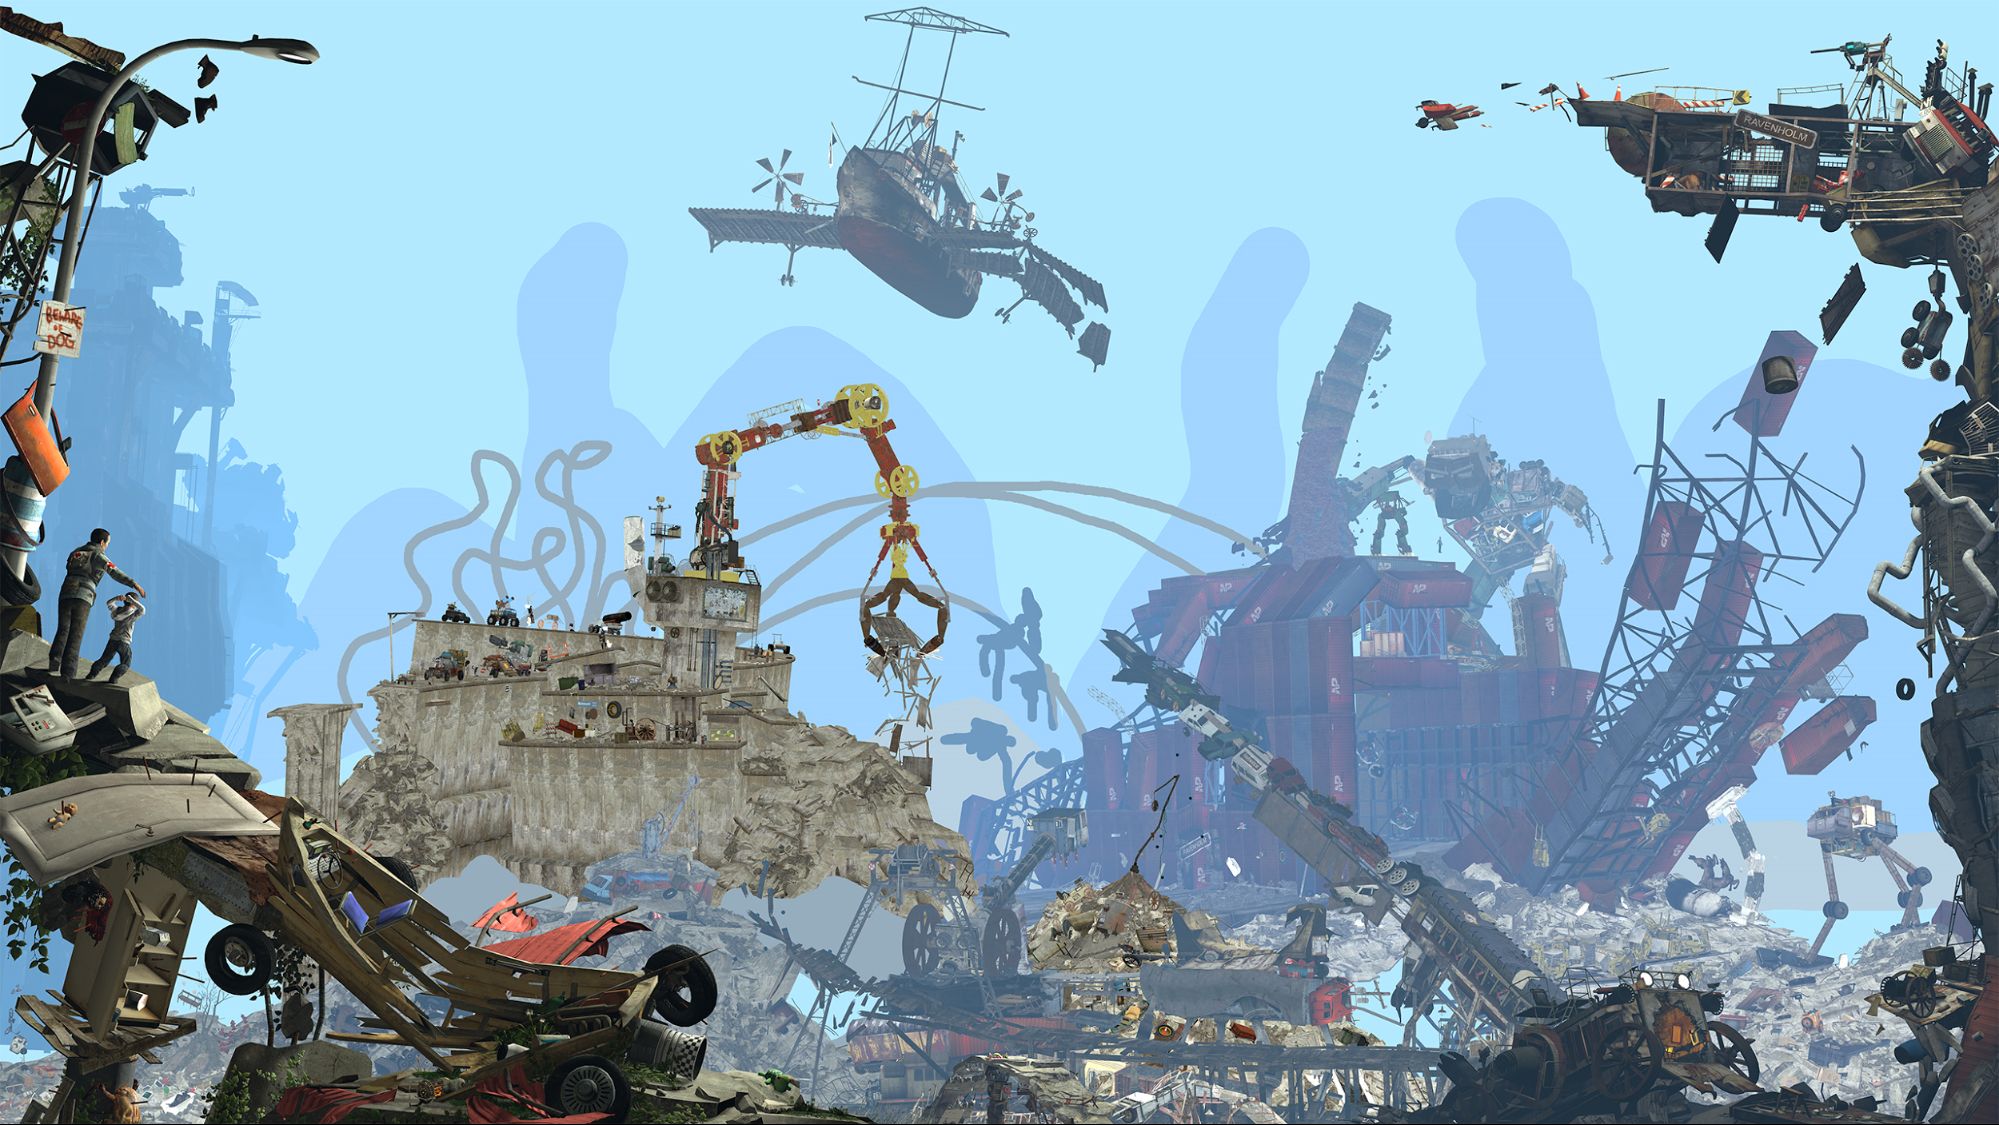
 At first I didn’t fully realize why it worked; what made the picture look so pleasing? But I knew I was definitely onto something, and immediately tried it out on the different builds I already had:

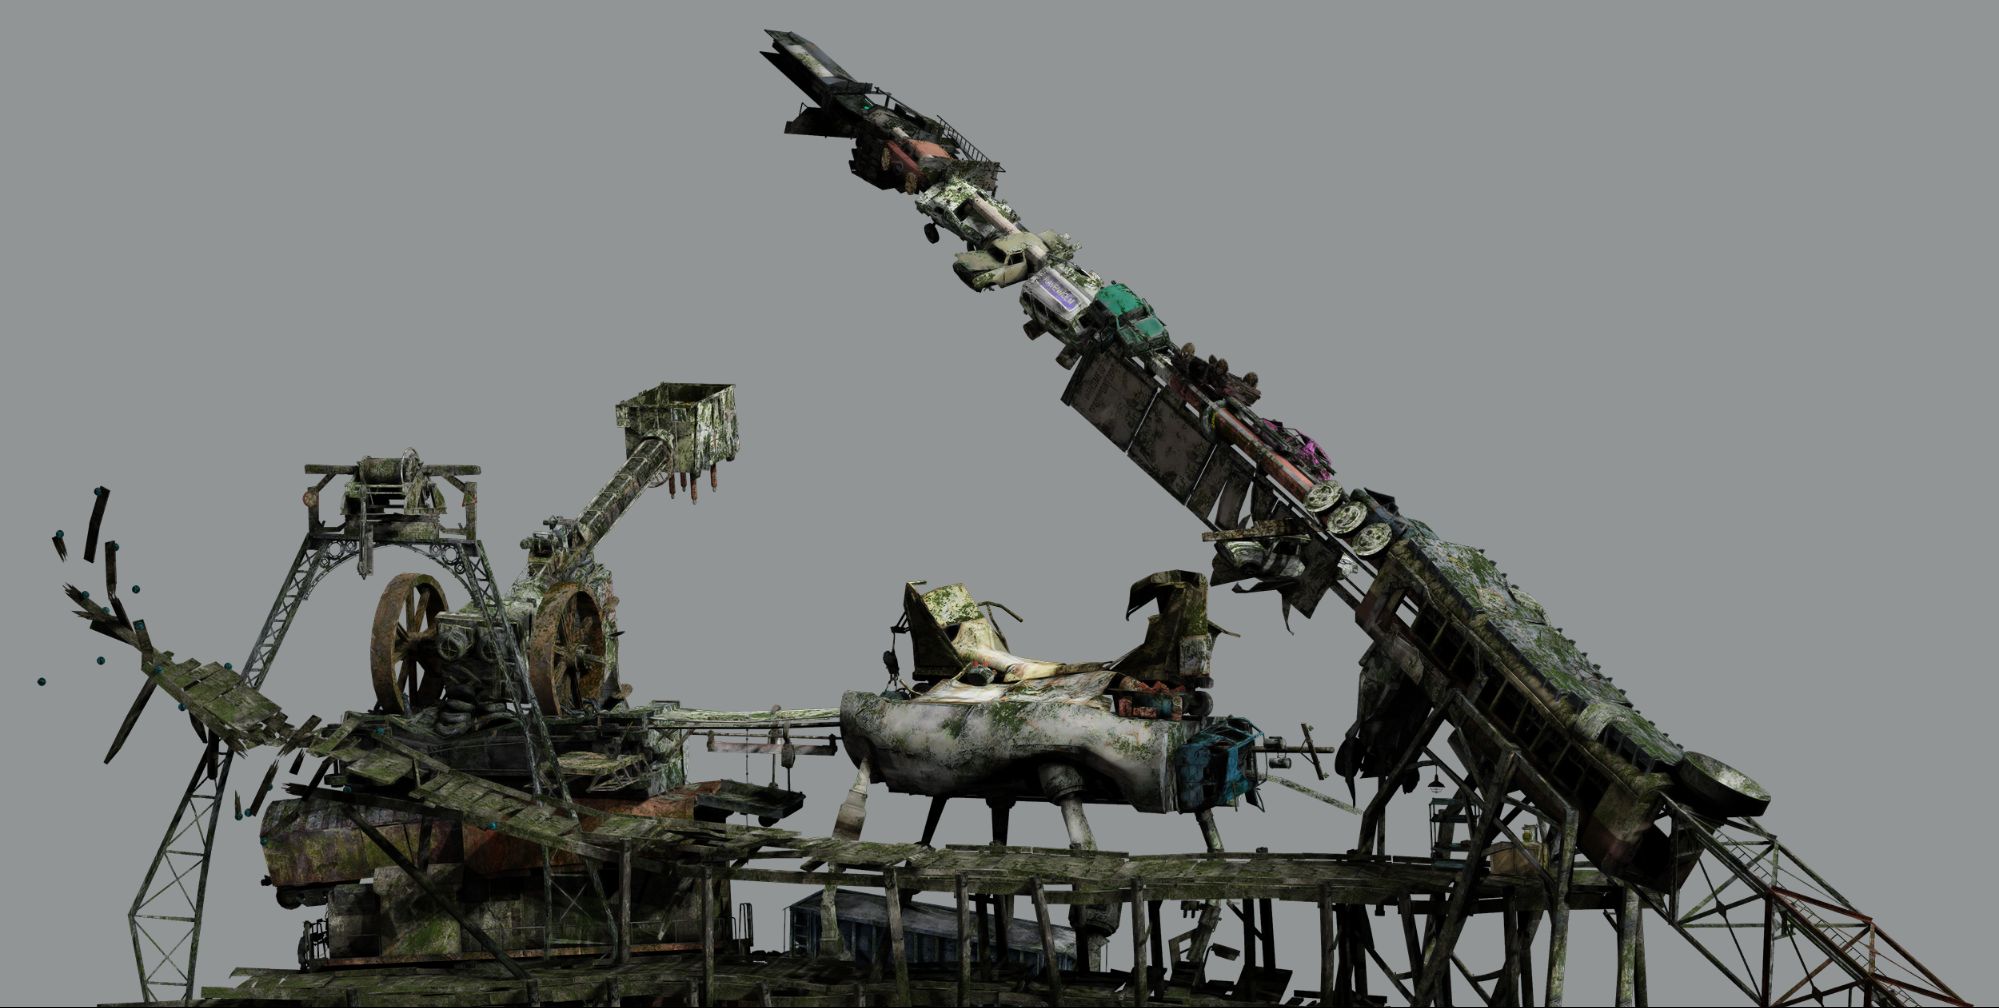
 Or create isolation passes and use those to change the base colors of props to my liking at ease:
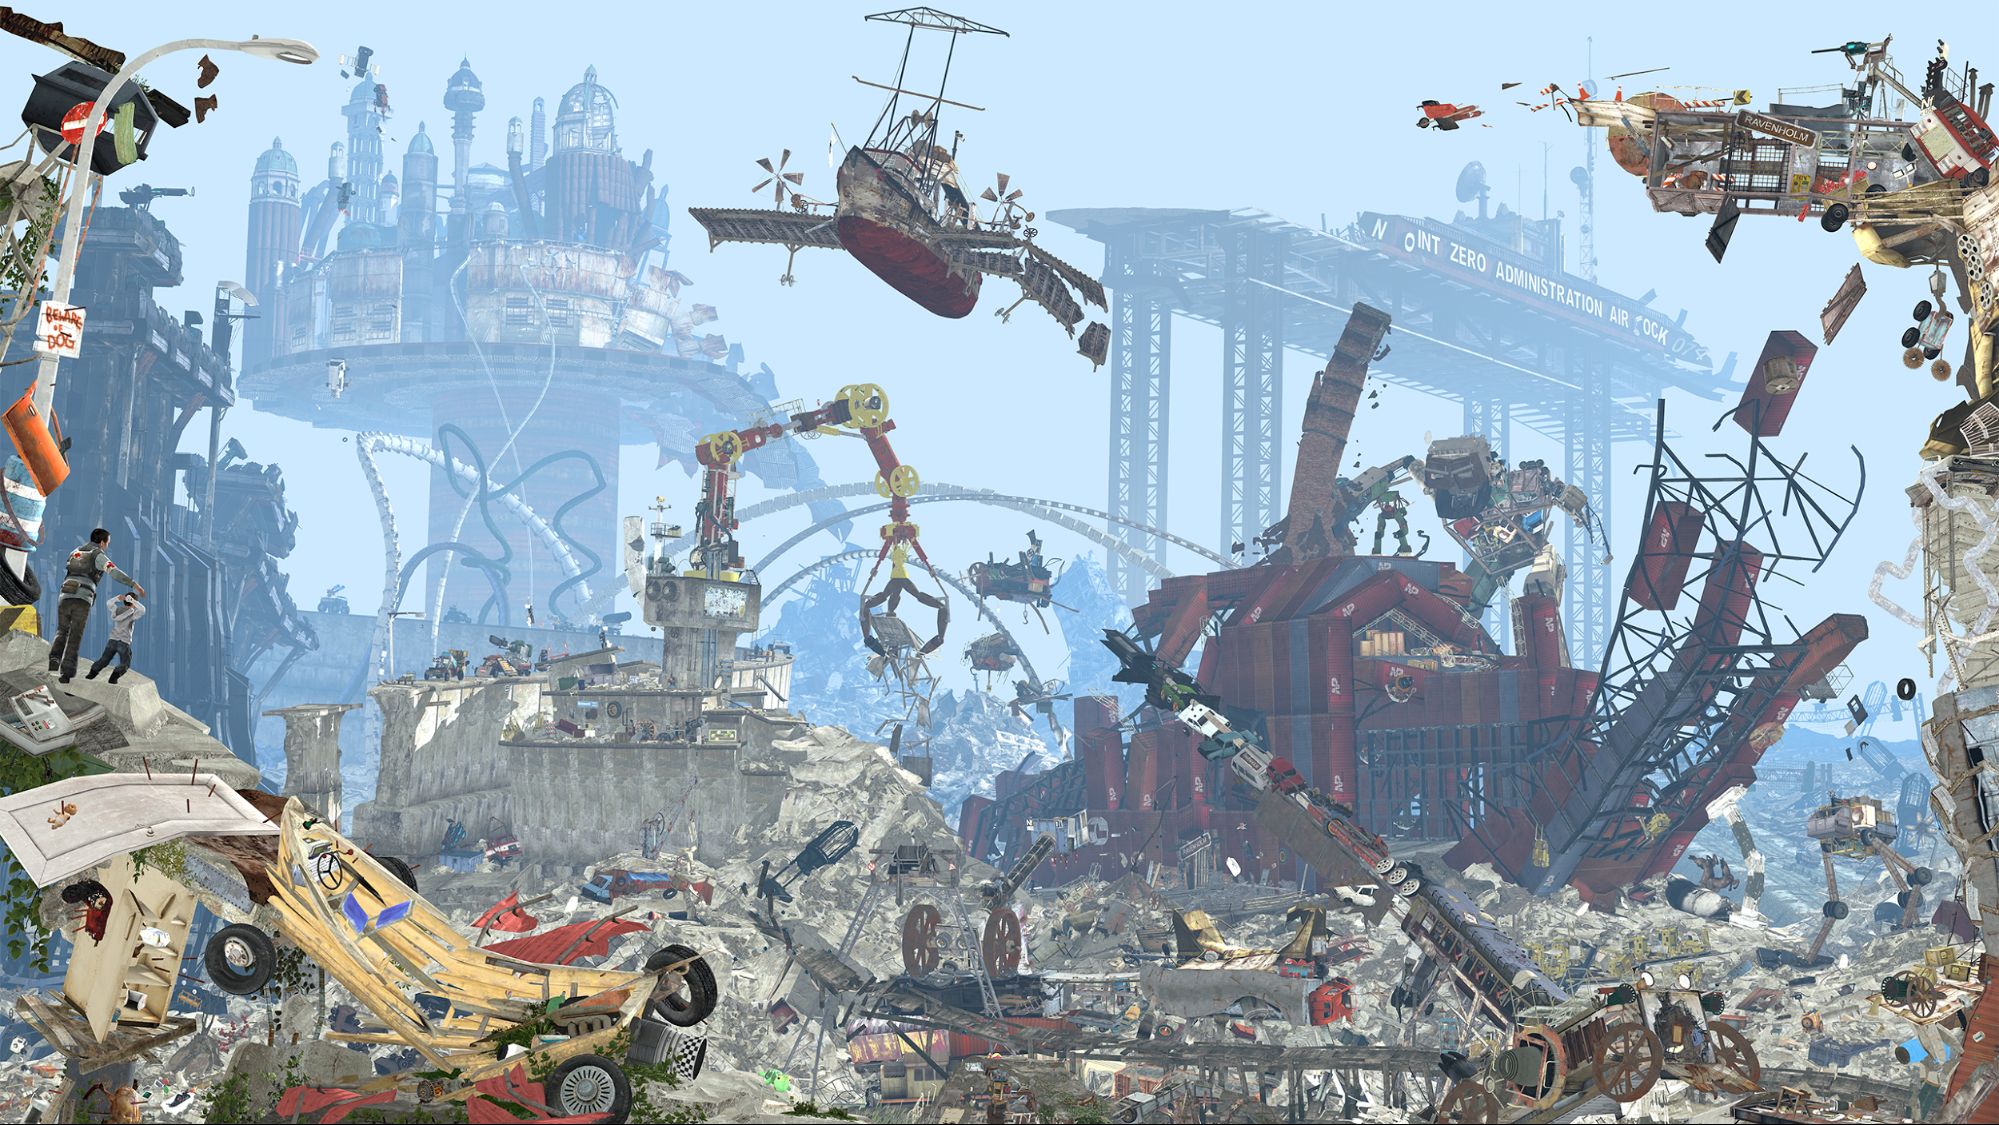
 It involved 329 effects, 679 props, and 116 individually posed ragdolls that were iterated upon several times over the course of seven months. The in-game scene building took me around five months, the editing took me around two more. I barely made any compromises, and the ones I did make were because of engine limits. I used every trick I knew back then to get the most out of the picture, and as a result the project was extremely demanding, technically speaking. Material blending, atmospheric passes, direct and ambient light stacking passes (holding light information equivalent to hundreds of thousands of lamps) all rendered and outputted to 25600x14400 raw captures which I later had to manually--and very slowly--process in Photoshop. I definitely bit more than I could chew with Path of Spawn, but I followed through with it till the end. And it was still mostly fun.